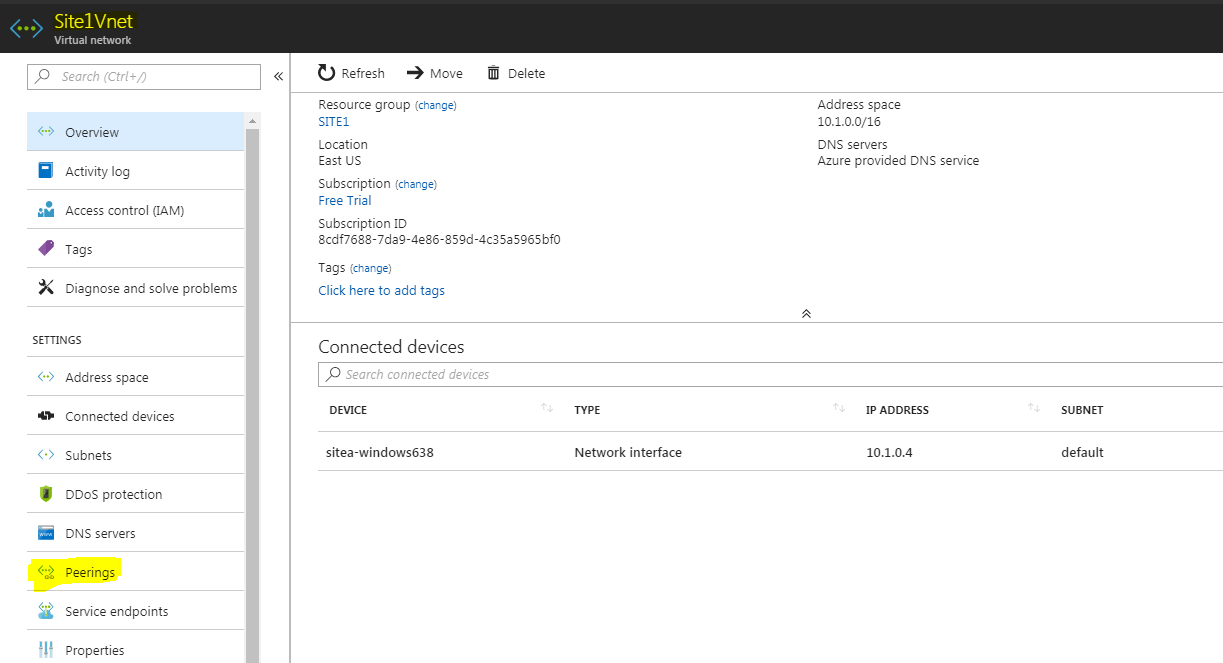
You can use an NSG to control traffic to one or more virtual machines (VMs), role instances, network adapters (NICs), or subnets in your virtual network. An NSG contains access control rules that allow or deny traffic based on traffic direction, protocol, source address and port, and destination address and port. The rules of an NSG can be changed at any time, and changes are applied to all associated instances.
In this scenario, you create an NSG for each subnet in the IBIKZVnet10 virtual network, as follows:
Create the IBIKZ-NSG (NSG)
To create the IBIKIZ-NSG NSG as shown in the scenario, complete the following steps:


In this scenario, you create an NSG for each subnet in the IBIKZVnet10 virtual network, as follows:
Create the IBIKZ-NSG (NSG)
To create the IBIKIZ-NSG NSG as shown in the scenario, complete the following steps:

Create rules in an existing NSG
To create rules in an existing NSG from the Azure portal, complete the following steps:
- Select All Services, then search for Network security groups. When Network security groups appear, select it.
- In the list of NSGs, select IBIKIZ-NSG > Inbound security rules
- In the list of Inbound security rules, select Add.

4.Under Add inbound security rule, create a rule named web-rule with the priority of 200 allowing access via TCP to port 80 to any VM from any source, and then select OK. Notice that most of these settings are default values already.

5, After a few seconds, you see the new rule in the NSG.

Associate the NSG to the IBIKZVnet10 subnet
- Select All services >, enter Resource groups, select Resource groups when it appears, then select RG-NSG.
- Under RG-NSG, select ... > IBIKZVnet10

3,Under Settings, select Subnets > FrontEnd > Network security group > IBIKZ-NSG.
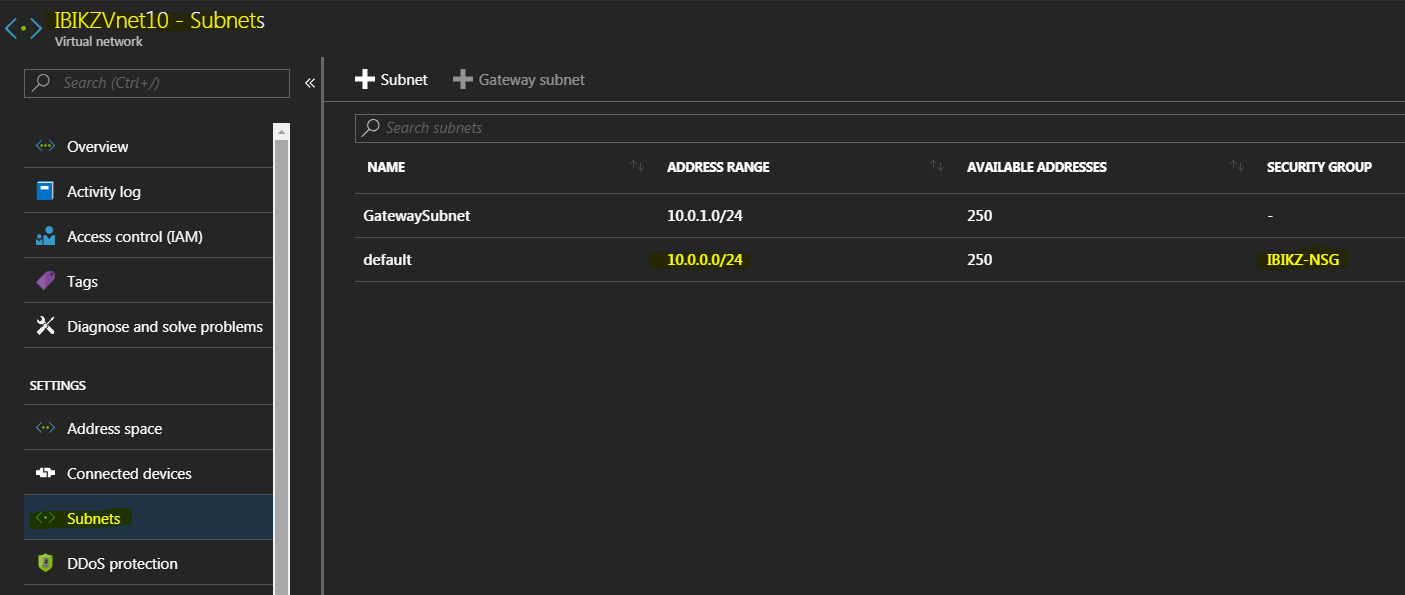
4, In the FrontEnd blade, select Save.